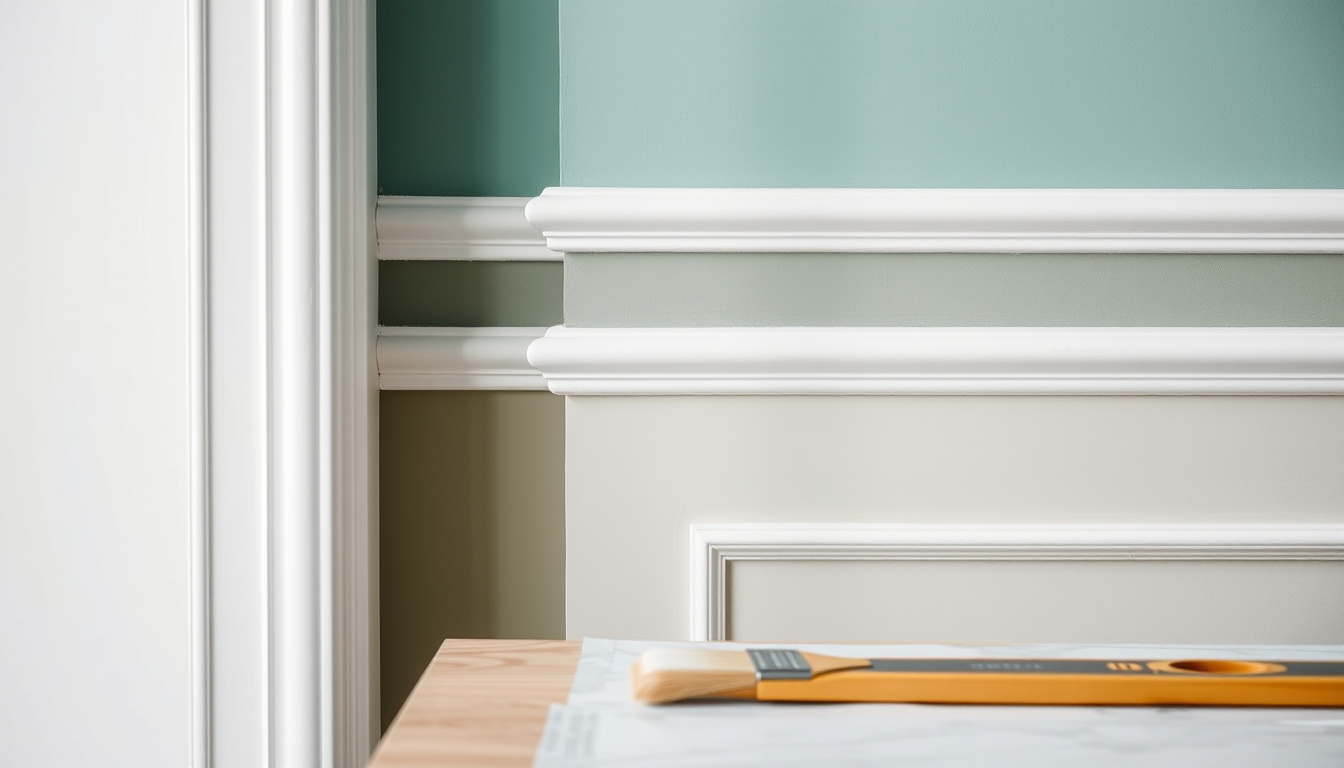
You’ve probably noticed a dado rail without thinking twice — that slim horizontal strip running around a room, often dividing a darker lower wall from a lighter upper one. Originally designed to keep chair backs from scuffing plaster, it has quietly become a versatile design tool.
Also known as: chair rail or surbase ·
Core definition: horizontal moulding fixed around the perimeter of a room ·
Traditional job: protect plaster from chair backs and scuffs ·
Common materials: MDF, hardwood, high-density polymer ·
Example primed MDF profile: 18mm × 69mm × 2.4m
Quick snapshot
- Horizontal moulding around room perimeter; traditional role: protect plaster from chair backs (Wikipedia (mobile reference))
- Pre-primed MDF profiles exist (e.g., 18mm × 69mm × 2.4m) — UniBond (adhesives brand)
- No universal mounting height — depends on room proportions and window alignment (Lick (paint brand and style resource))
- Whether a room feels bigger/smaller depends on paint contrast and ceiling height, not just the rail (Houzz IE (home design platform))
- Need for nails vs. adhesive varies by wall condition and rail profile (Home Apex (DIY advice site))
- Dado rails have been used continuously since the 18th century; no major disruption expected (Wikipedia (history reference))
- Dado rail kits and pre-cut panels making DIY easier — Woodies (Irish hardware retailer)
Six key facts give a fast orientation:
| Label | Value |
|---|---|
| Rail type | Horizontal moulding fixed around room perimeter |
| Alternative names | Chair rail, surbase |
| Common materials | MDF, hardwood, high-density polymer |
| Example product size | 18mm × 69mm × 2.4m primed MDF |
| Main historical use | Protection from chair backs |
| Typical decorative use | Separation line between wall colours or panels |
What is the purpose of a dado rail?
Definition and core function
- A dado rail is a horizontal moulding fixed around the perimeter of a room — Lick (paint brand and style resource)
- Its traditional purpose is to protect plaster from chair backs and scuffs, while adding a decorative break
- It runs above the dado, the lower wall panel area, roughly around the middle of a wall
The dado rail is both a bumper and a border: it shields the wall where chairs hit, and it gives you a natural line to split colours or add panelling below.
Dado rail vs chair rail vs picture rail
The terms are often used interchangeably, but there are subtle differences. A chair rail is the same product — the name just emphasises the protective function. Picture rail is a separate moulding, traditionally mounted higher on the wall to hang artwork from hooks. WM Boyle, a UK building supplies retailer, notes that DIY guides sometimes call a dado rail a picture rail, but the two have different historical uses (WM Boyle (DIY supplier)).
Where a dado rail sits in a room
The typical height ranges between 90 and 120 cm from the floor, but there is no hard rule. Lick describes the rail as “running roughly along the middle of a room”. In practice, you align it with window sills, furniture, or the proportions of the wall — not a fixed number.
The implication: the rail’s position should be chosen for the room, not copied from a standard.
Why is it called a dado rail?
Origin of the word ‘dado’
The word dado comes from Italian, meaning “die” or “cube” — a reference to the block-like lower section of a wall in classical architecture. This area, called the dado, forms the visual base of an interior wall.
- Italian dado → the cube-shaped plinth or pedestal section
- The rail sits above that section → hence “dado rail”
Why the rail was added to rooms
In the 18th and 19th centuries, plaster walls were expensive and easily damaged. A timber rail at chair-back height was a practical addition: it absorbed impact from furniture and could be repainted without re-plastering. Over time it became a decorative feature that signalled craftsmanship.
Knowing the origin explains why the rail is still standard in joinery catalogues — it was never just a fad; it solved a real wear problem.
The pattern: form followed function — the decorative payoff came only after the protective job was solved.
Are dado rails old fashioned?
Why the style became a period cliché
During the 1970s and 80s, dark timber dado rails in heavily patterned rooms made the feature feel dated. Combined with busy wallpaper and brown paint, the rail became associated with “grandma’s house”. But the hardware itself isn’t the problem — it’s the styling.
How current colour and profile choices make it modern
Today’s designers pair a dado rail with muted paint, simple white trim, or partial wall panelling. Lick’s blog notes that dado and picture rails are a way to add detailing to boxy rooms and period properties. A clean, primed MDF rail painted the same colour as the wall reads as architectural, not old-fashioned.
When a dado rail can be kept or removed
If the room already has a rail in good condition, you can simply refresh it with paint. If it’s damaged or poorly positioned, removal and patching the wall is straightforward. Houzz Ireland suggests using a dado rail with half-height tiling in bathrooms to add architectural interest.
The pattern: a dado rail is only as dated as the paint colours around it.
What is the modern alternative to the dado rail?
Wall panelling and wainscoting
Full wall panelling, such as shaker-style or beadboard, can replace the horizontal rail with a complete framed-wall look. This achieves a similar protective line without a traditional timber rail.
Paint blocking and wallpaper borders
Paint colour blocking — two colours meeting at a crisp horizontal line — creates the same visual division as a rail without adding a physical moulding. It’s cheaper and easier to change.
Dado rail panels and trunking-style profiles
Pre-cut dado rail kits, like those sold by Woodies, simplify installation and offer matching panels that turn the rail into a wainscoting system. For those needing cable management, trunking-style dado rail profiles double as a wire channel — a modern functional alternative.
A physical rail adds depth and durability; paint blocking is cheaper and zero-maintenance. Choose based on whether you want texture or just a line.
Two alternatives, one trade-off: depth vs. simplicity.
Can I install a dado rail myself?
Tools and preparation
- Measuring tape, spirit level, pencil, chalk line, mitre saw (or mitre box), coping saw, adhesive, nails/screws, filler
- MDF Skirting World advises drawing level guidelines around the room at the desired height before fitting (MDF Skirting World (moulding specialist)).
- UniBond recommends applying masking tape before fixing and sealing edges after installation.
Fixing: adhesive, nails, or screws?
Home Apex explains that a rail can be fixed either by screw-and-plug fastening or by adhesive such as No More Nails. For flat walls, strong construction adhesive alone can hold the rail. On uneven or stud walls, mechanical fixings provide greater security. Skirting 4 U suggests pinning the rail at intervals and using a coping saw to fit the next section into the previous profile (Skirting 4 U (skirting board retailer)).
Painting before or after installation
Primed MDF can be painted before fitting to reduce cutting-in, then touched up after fixing. This is faster if you’re painting sections in a garage. If you paint after, you’ll need to tape off the wall above and below. MR Mouldings says once adhesive is dry, filler or caulk can be used to fill gaps, nail holes, and corner joins (MR Mouldings (skirting and moulding retailer)).
The catch: painting before saves time on edges but creates touch-up work at joints; painting after is more seamless but requires careful masking.
The catch: even a simple rail rewards accurate measuring — small errors at corners become obvious once light hits the profile.
What are some stylish decorating ideas for a dado rail?
Above or below the window sill?
A dado rail can be aligned with the window sill, but the final height is based on wall proportions and furniture. Houzz Ireland suggests using beading to create a wainscot-style look below the rail and painting the lower wall section a different colour.
Darker colour above or below?
Darker paint below the rail grounds the room and makes the ceiling feel higher; darker above draws the eye up but can make the ceiling feel lower. There is no right answer — both work depending on the effect you want.
Finishing the rail at a window reveal
At a window, stop the rail at the architrave, mitre into a return block, or use an end cap for a clean finish. DIYdata suggests drilling fixing holes in the wall and using a coping saw for tight corners (DIYdata (home improvement reference)).
Two-tone paint schemes
Use the rail as the separation line between two colours. For example, a muted sage below and a soft white above. This is one of the most popular modern approaches because it adds character without complicated joinery.
If you’re pairing a dado rail with wallpaper, make sure the pattern aligns properly at the rail line — nothing looks sloppier than a mismatch at the border.
The pattern: the rail is a seam, and the colours you pair tell the room how to read.
Comparison: dado rail materials at a glance
Four common materials, one clear winner for most DIYers:
| Material | Cost per linear metre | Durability | Ease of cutting | Best for |
|---|---|---|---|---|
| Primed MDF | £3–6 | Good (avoid moisture) | Easy with mitre saw | Living rooms, bedrooms |
| Hardwood (oak/pine) | £7–15 | Excellent | Moderate (needs sharp blade) | High-end, stain-grade projects |
| High-density polymer | £5–9 | Very good, moisture-resistant | Easy with standard tools | Bathrooms, kitchens |
| Finger-jointed pine (primed) | £4–7 | Good, less stable than solid | Easy | Budget-friendly alternative |
The pattern: MDF offers the best balance of cost, workability, and finish for most interior projects.
Specification table for a typical primed MDF dado rail
Knowing the dimensions helps plan quantities and cuts:
| Spec | Value |
|---|---|
| Material | Primed MDF (medium-density fibreboard) |
| Width | 69 mm |
| Thickness | 18 mm |
| Length | 2.4 m (standard) |
| Profile | Ogee / chamfered / bullnose (varies by product) |
| Finish | Pre-primed, ready to paint |
| Moisture resistance | Standard MDF (not water-resistant) |
| Fire rating | Complies with Class 1 or Class 0 with coating (depends on paint) |
| Fixing method | Adhesive + lost-head nails |
The takeaway: this is the most commonly sold dado rail size in the UK and Ireland — 18mm thick is sturdy without being bulky.
Pros and cons of a dado rail
Upsides
- Protects walls from furniture scuffs
- Adds visual structure to a plain room
- Easy to paint and maintain
- Widely available in many profiles
- DIY-friendly with pre-cut kits
Downsides
- Can collect dust on the top edge
- Wrong colour choice can look dated
- Requires accurate corner cuts
- May not suit very small rooms (breaks the eye line)
- Standard MDF not suitable for wet areas without sealing
The trade-off: a rail is a permanent architectural line, so it rewards restraint in colour and profile selection.
Step-by-step installation overview
- Measure and mark — draw level guidelines at the chosen height using a spirit level and chalk line.
- Cut the rail — use a mitre saw for straight cuts and 45° angles at corners. For internal corners, a coping saw gives a tighter fit.
- Apply adhesive — run a bead of construction adhesive along the back of the rail.
- Fix temporarily — press the rail onto the wall and secure with a few nails or pins. Countersink nail heads.
- Join sections — fit the next piece into the previous one, using the coping method for internal corners.
- Fill and sand — once adhesive is dry, fill nail holes and gaps with wood filler, then sand smooth.
- Paint or touch up — apply a coat of paint. If you painted before installation, just touch up joints.
Wear a dust mask when cutting MDF — the fine particles can irritate lungs. Use a mitre saw with a dust bag or work in a ventilated area.
The sequence is forgiving: a rail can be adjusted slightly before adhesive sets, but not after — so check levels as you go.
Clarity: what’s confirmed and what remains unclear
Confirmed facts
- Dado rail is also known as chair rail or surbase; it is a horizontal moulding fixed around the perimeter of a room; its traditional role was to protect plaster from chair backs (Wikipedia (usage reference)).
- Pre-primed MDF profiles exist in sizes such as 18mm × 69mm × 2.4m (UniBond (adhesives brand)).
What remains unclear
- There is no single universal rule for mounting height; proportions and window alignment determine final placement.
- Whether a room feels bigger or smaller depends on paint contrast and ceiling height, not the rail alone.
- The need to nail versus adhesive-fix depends on wall condition and rail profile.
- Whether a pre-cut kit is cheaper than buying lengths depends on room size and profile choice.
Quotes from the trade
“Dado and picture rails are a way to add detailing to boxy rooms and period properties.”
— Lick (paint brand and style resource)
“Use beading to create a wainscot-style look below the rail and painting the lower wall section a different colour.”
— Houzz IE (home design platform)
“For flat walls, strong construction adhesive can hold a rail, but mechanical fixings provide greater security on uneven or stud walls.”
— Home Apex (DIY advice site)
Each quote points to the same conclusion: a rail is a background detail that works best when it doesn’t shout.
Summary: making the dado rail work for you
The dado rail is neither old-fashioned nor a passing trend — it’s a practical trim that has stayed in use because it does one thing well: create a clean horizontal line while protecting walls. Modern materials and painting techniques let you adapt it to almost any interior.
The catch is in the execution: accurate mitres and thoughtful colour placement separate a polished look from a dated one. For UK and Irish homeowners tackling a weekend project, the choice is clear: buy primed MDF, paint before fitting, and take your time on corner cuts.
Frequently asked questions
Does a dado rail make a room look bigger or smaller?
It depends on paint contrast and ceiling height. A pale colour above and below the rail with minimal contrast keeps the room open; strong contrast (dark below, light above) can make the ceiling feel higher. In small rooms, a rail at eye level might break the vertical line and make the room feel shorter.
How much does a dado rail cost?
Primed MDF profiles typically range from £3 to £6 per linear metre. Hardwood and polymer profiles cost more, up to £15 per metre. Pre-cut kits for a standard room can cost £20–£50 depending on size and profile.
What are dado rail kits?
Dado rail kits include pre-cut lengths, corner pieces, and sometimes adhesive — designed to simplify installation. Retailers like Woodies sell them as a complete package.
Can I use dado rail panels with existing wallpaper?
Yes, but you need to ensure the wallpaper is well-adhered and flat. It’s often easier to strip wallpaper from the area where the rail will sit, as adhesive may cause bubbles or detachment later.
Are dado rails suitable for kitchens and bathrooms?
Standard MDF is not moisture-resistant, so avoid it in wet zones. High-density polymer or moisture-resistant MDF (green board) should be used instead. Houzz Ireland suggests using a dado rail with half-height tiling in bathrooms.
What materials are available for dado rails?
Primed MDF (most common), hardwood (oak, pine), high-density polymer, and finger-jointed pine. Each has different cost, durability, and workability characteristics — see the comparison table above.

Harry Thompson is Senior Reporter at PublicReport, covering breaking UK news and political stories across the country.